How to Replace a Bicycle Chain: A Step-by-Step Guide.
How to Replace a Bicycle Chain
For your safety, always consult your owner’s manual for model-specific instructions and warnings. If you’re unsure about performing any of the steps below, please contact a certified bicycle mechanic.
Replacing a bicycle chain involves several steps and may require basic tools like a 17mm wrench and a chain breaker. Follow the guide below to safely remove and replace your bike’s chain.
Step 1: Remove the Chain Guard
To access the chain and crank wheel, begin by removing the chain guard:
-
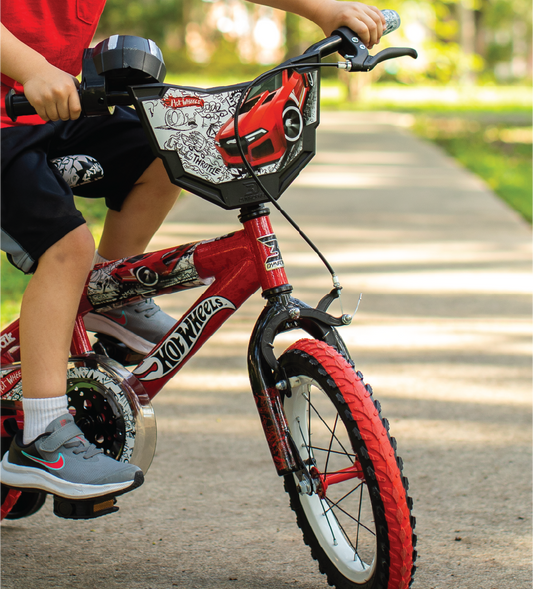
If applicable, remove the training wheel.
-
Remove the screw next to the training wheel.
-
Remove the two screws located on the backside of the chain guard.
-
If there’s a second training wheel, remove it as well.
Step 2: Loosen the Rear Axle
Next, locate the rear axle nuts on both sides of the wheel:
-
Use a 17mm wrench to loosen (but not fully remove) the nuts.
-
Some models include a rear wheel bracket attached to the frame—loosen this bracket screw and nut to allow the wheel to slide forward and backward.
Note: On certain models, the bracket screw may need to be fully removed to adjust the wheel.
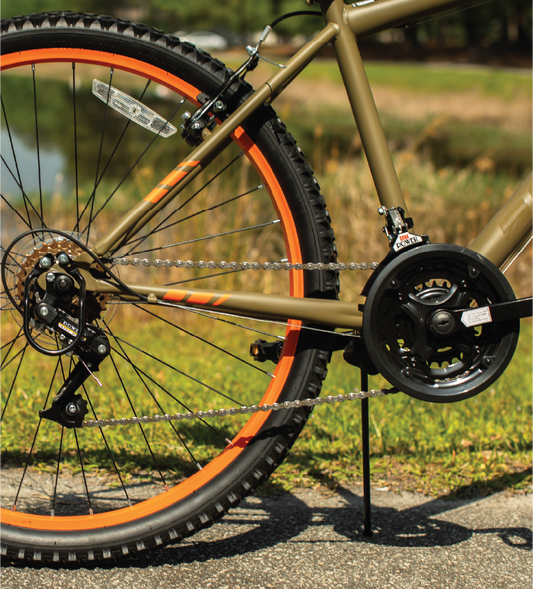
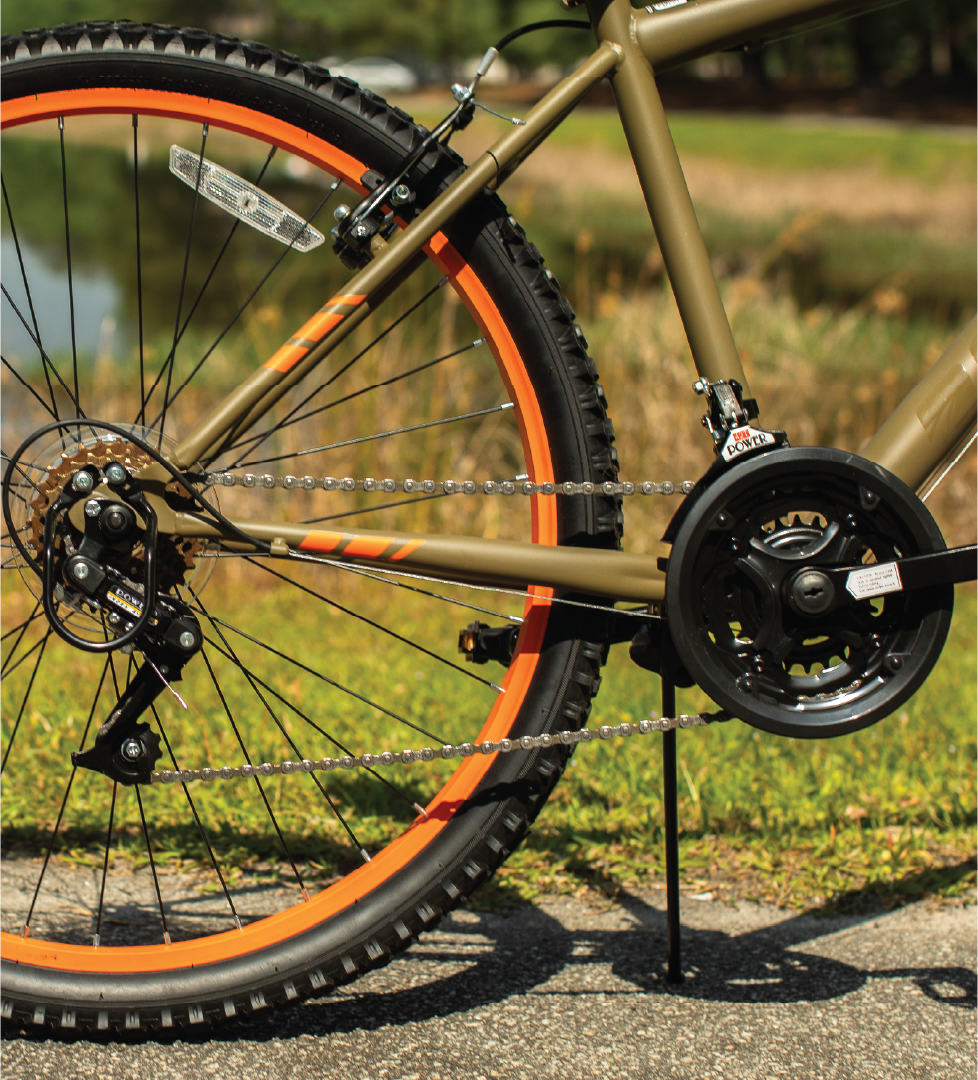
Step 3: Remove the Old Chain
-
If the original chain is still installed around the crank wheel and cassette, use a bicycle chain breaker tool to open one of the chain links.
-
Remove the chain entirely from the bike.
Step 4: Install the New Chain
-
Drape the new chain over the crank wheel, ensuring the crank teeth align properly within the chain links.
-
Route the rear portion of the chain through the bicycle frame and around the rear gear (cassette).
-
Confirm the chain is seated correctly on both the crank and cassette.
Step 5: Connect the Chain
-
Bring both ends of the chain together.
-
Use the chain breaker to reattach the chain according to the tool’s instructions.
Step 6: Adjust Chain Tension
-
With the new chain connected, pull the rear wheel backward to remove slack.
-
Make sure the chain is taut but not overly tight.
-
While holding the wheel straight, re-tighten the bracket screw (if applicable) and the axle nuts securely.
-
Double-check that the rear wheel is aligned and the chain moves freely with appropriate tension.
Refer to your owner’s manual for chain tension guidelines specific to your model.
Step 7: Reassemble Components
-
Reinstall the chain guard using the previously removed screws.
-
Ensure the chain guard does not obstruct chain movement.
-
Reattach the training wheels, if applicable, following your manual’s instructions.
By following these steps, you’ll ensure the safe and proper replacement of your bicycle chain. For best results and safety, always inspect your work or have a certified bicycle mechanic review your setup before riding.